Thursday, August 11, 2011

Master Bath Progress Report

OK.  I know it has been a while since I have shown you my bathroom.....

Let's start over...It has been THREE MONTHS since I have shown you my master bath, but it is starting to come together. Yipee!...As a refresher, we started this project because we had a leak in our fiberglass shower insert which meant the whole thing needed to be taken out.  The entire bathroom was exactly the same as the day the builder put it in (plus the wear and tear of 15 years)...white walls, off-white linoleum with little blue flowers, gross shower, cheap baseboard.  It was great.  No, it wasn't.  So with the DIY spirit in full effect we went for it....well, my husband went for it.  As a reminder here is what we started with and what we ended with....


Hooray for husbands and power tools!.....Yes?... No? (You can read part one of this saga here.)  My husband had been out of work for a few weeks (he works construction) and was able to make progress on getting the space back into working order....then he went back to work, and the bathroom sat and sat and sat.  Not only are we limited on our budget, but sometimes we are procrastinators too.  So our Pastor decided to come in and give us a hand.  Our "Pastor" you said??  Yep, not only is he a man of God, but this guy can do EVERYTHING....seriously!  So here are some after pictures just to prove to you that this little train is chugging along.


We went with the Castle Travertine from The Home Depot.  The tiles on the floor are 18x18 and in the shower we just cut them in half to make into subway tiles.  The main floor in the picture is pre-grout and there is still a lot of work to be done (painting all the casings and adding baseboard), but it is at least starting to look like a bathroom again.  Thankfully we had lived in an apartment for several years and are use to only having one bathroom.  Ok, so that's not really a good excuse, this project has taken way too long.  Period. I can see the finish line though, and the results will all be well worth it.  Have you ever taken on a huge remodel without knowing how it is all going to work itself out?  What project of your has taken the longest on your DIY list?  Make sure you subscribe to my blog so you will be able to see the big reveal.

Tuesday, August 9, 2011

July 2011 Treasure Box

This summer has been a DIY bummer for me.  Spending time with my kids is always top priority, but I knew thought that I would still be getting projects done and blogging in between.....SO NOT WHAT HAPPENED.

I have however managed to score some pretty good stuff.  But since I already told you that I'm not doing much of any DIY right now, it has started to pile in the "gonna-get-to-it-real-soon" pile.  Don't act like you don't have one of those piles too!  Although, mine isn't a true pile, I stick stuff here and there hoping that my husband doesn't notice that the stuff truly is piling....but I will get to it, I promise! 

So in order to keep my pile organized and make sure nothing gets overlooked in the shuffle, I have decided to do a monthly Treasure Box update.  I am hoping that it will keep me motivated to make the "gonna-get-to-it" pile an "already finished" pile!  So here is what I managed to smuggle in this month:

 This fixture is going to hand above my doorway in the little entry way as you walk in the front door....I already tried to hang it once but....well, I will just say I'm going to try again on another day.  Since the tag is a little hard to make out the original price was $78 and I scored it for $4.88...that's a major score in my book!  (I bought it from Lowes.)
 These are twiggy branchy thingy's....I knew I wanted whitish ones, and these fit the mold.  They will eventually live in a vase next to the china hutch...you know, after I paint the walls.  These were $16.99 from Marshall's
 This more than likely will get a fresh coat of paint and live in the garden.  It was only $2.00 from a local church yard sale.
 I got this from the same yard sale, it was fiddy cents...it will most def get a coat of paint and have a candle of top...why did I even buy this thing?...I really don't want to accumulate clutter without a home...
 This fixture I bought from The Home Depot.  It was originally $50-ish and I got it for like $25???  Can't totally remember but it was something like that.  It is going to go up in the bathroom that we are currently redoing. (You can see the progress of the bathroom HERE or HERE.) 
 I got this from a local thrift store for $5.00.  I love it....minus the flowers...I thought a nice grey and white chevron pattern would be nice on top.
 This is....uummmm....it's a brass thing.  Planter??..I don't know why I bought this either.  It was only $1.00, but it will probably be tossed in to my husband's pile of brass that he is collecting to recycle...think he will notice it?
 Oh yeah, and these....ok, so they are not destined for any DIY project.....but they make my little tender-roni boy smile.  They are lego mats....I got 10 for $3.00...that is a score.  Oh, and speaking about my little lover-bugger-boy he had his very first dentist appointment in July.
 And since we are on the subject of family......HERE IS OUR NEWEST ADDITION.....


Her name is Coco Puff the Puffer Pants....yes, that is really her name.....we adopted her from the SPCA and we love her!  I don't know how we have gone for so long without a pet.  That is all for the month...lots of stuff that needs stuff done to it.  What have you bought lately?  Are you struggling getting things done while the kids are home?  OR EVEN BETTER YET....do you have any ideas of what to do with the junk I bought?

P.S. I also have been acquiring a lot of new frames for my gallery wall. What gallery wall?...You know, the one that I am going to get to.  I will show you the frames in one post when I get ready to undertake that project...oh the suspense. (Ok not really, but lets just pretend like it's suspenseful....?)

Monday, June 6, 2011

Treasure Chest Contents

Between having a computer virus and going on vacation my little blog baby has been neglected, and my DIY projects have too.  Though, I have bought several new items for my treasure chest (actually I just stuff things away until I can turn them into something great).  I usually get my treasures from thrift stores, but I have a few other secrets too.  Here is what I have picked up from my local thrift stores in the last couple weeks:


My absoloute most F.A.V.O.R.I.T.E. place to find treasures has to be ....what we call it in this house....the trash pick up.  My aunt lives in the Bay Area (CA) in a well-off neighborhood and three times a year the city does a "special clean up" day in which the residents put their unwanted "trash" out by the street for the city to take to the dump.  I am not even kidding one little bit when I tell you that these people put out A LOT OF GOOD JUNK. At first it is embarrassing, it is like one step up from dumpster diving, but this treasure lover has no shame people...no shame I tell ya!  In the past we have gotten a Craftsman table saw, all of my gas lawn tools, a vintage dress form in perfect condition, and sooooo soooo much more.  This time around I only kept a few things, some pots, garden trellis, a little table and this:
Yeah baby!!  It is actually a rototiller attachment that goes with my gas weed eater that I got last year from the "trash pick up".  I also got this cute little mirror that will eventually live on my gallery wall:

Then, while driving around on my hunt I came across this vanity in someone's front yard.  It had a sign taped to it that read > $25 obo, leave your money under the mat.  Thanks!<  It was totally worth the $25, but I was in free mode and so I passed it up.....then a few hours later I went back by just to see if it was still there...yep, still left it there.  Then after a few MORE hours it started to rain...so I went back by and decided to take the vanity home.  I left $15 under the mat and a note that said....>I am leaving $15 for the vanity, please call me if you do not think that is a fair price 707-#### Thanks, Sarah<  I never got a call so I assume they were happy....I am definitely happy. 

Last but not least, I got these candle sticks from my grandma.  They are actually hand made by an old neighbor of hers.  She told me that there were originally three candlesticks but she sold the smallest one years ago at a yard sale.  I am in LOVE with them.
All in all, I think I have done pretty darn good in the last couple weeks.  Sometimes I get so envious of people because it seems like they find all the good stuff and all that I can ever find is blah.  I had a lucky streak, what else can I say.  I already know what I am going to do with some of the things, others will fall into place eventually.  What have you found lately?  Have you ever bought something on the honors system like I did with the vanity?  Or are you a proud trash picker?....Oh yeah baby, be proud!!

Thursday, May 19, 2011

Master Bath Renovation

As new homeowners we learned quickly that owning your own home is extremely rewarding.  If you feel like painting, you can......if you feel like changing out light fixtures, you can.....whatever it is, you can do it.  It really is great!  BUT...the one thing that IS sucky is that there are no maintenance men to call when something goes wrong...ugh!  When we moved in to our home everything was perfect.  Well, it was all perfect until the carpet in our master closet was soaking wet.  What the hey!! Wet carpet?  In the closet? The culprit....our shower was leaking! Not so fabulous news.  The other not so fabulous news was that we had a fiberglass insert shower stall that was all one piece and there was a crack in the base. 

This meant no more showering in there and the WHOLE thing had to be replaced.  We hadn't even been in our house for six months when this happened. We could have replaced the old insert with a new one (for about $300), the shower doors were brand new so we probably could have just reinstalled them, but we like to do things big. One evening we were watching TV and out of nowhere the hubby got a wild hair and decided to take the saw into the bathroom....on a school night!....this is what we were left with.
I don't know how my husband knows how to do the things that he knows how to do....I just roll with it. There were many steps to getting to where we are right now so here is a rundown.   First, he re-did the plumbing, then then the shower curb and deck


Then we had the room re-textured the same day that we re-did Hailee's room (which can be seen HERE or HERE).  Then I primed over that a few weeks ago....yes, I said a few WEEKS ago.  Today I finally painted and this is what we are rocking right now.....I'm loving it. 


 Why is the shower on fire?  It is called RedGuard which is basically a paint on water membrane to make the shower water proof...it goes on hot pink and dries red.  On the walls I used Stonington by Behr in a Semi-Gloss finish.  (Remember to use semi-gloss in area of high moisture such as in the bathroom or in the kitchen, it makes for easy cleaning.) The ceiling is Ultra White by Valspar in a Semi-Gloss finish as well ( I already had a gallon since this is the color I have been painting all of my trim and interior doors). I wanted something light and classy and I think this color scheme achieves that.  I also wanted to stay with a neutral that could easily play with many different pops of color.  We have the tile ready to go so hopefully I will be showing you a finished master bath really soon.  You can see the backside of our tile from this post.  When we moved in I had a budget set aside for fun stuff like window treatments and art, not tile and thinset, but it is what it is people.  Did you have any big projects that came up shortly after moving in?  

FAILURE spelled with an "H"

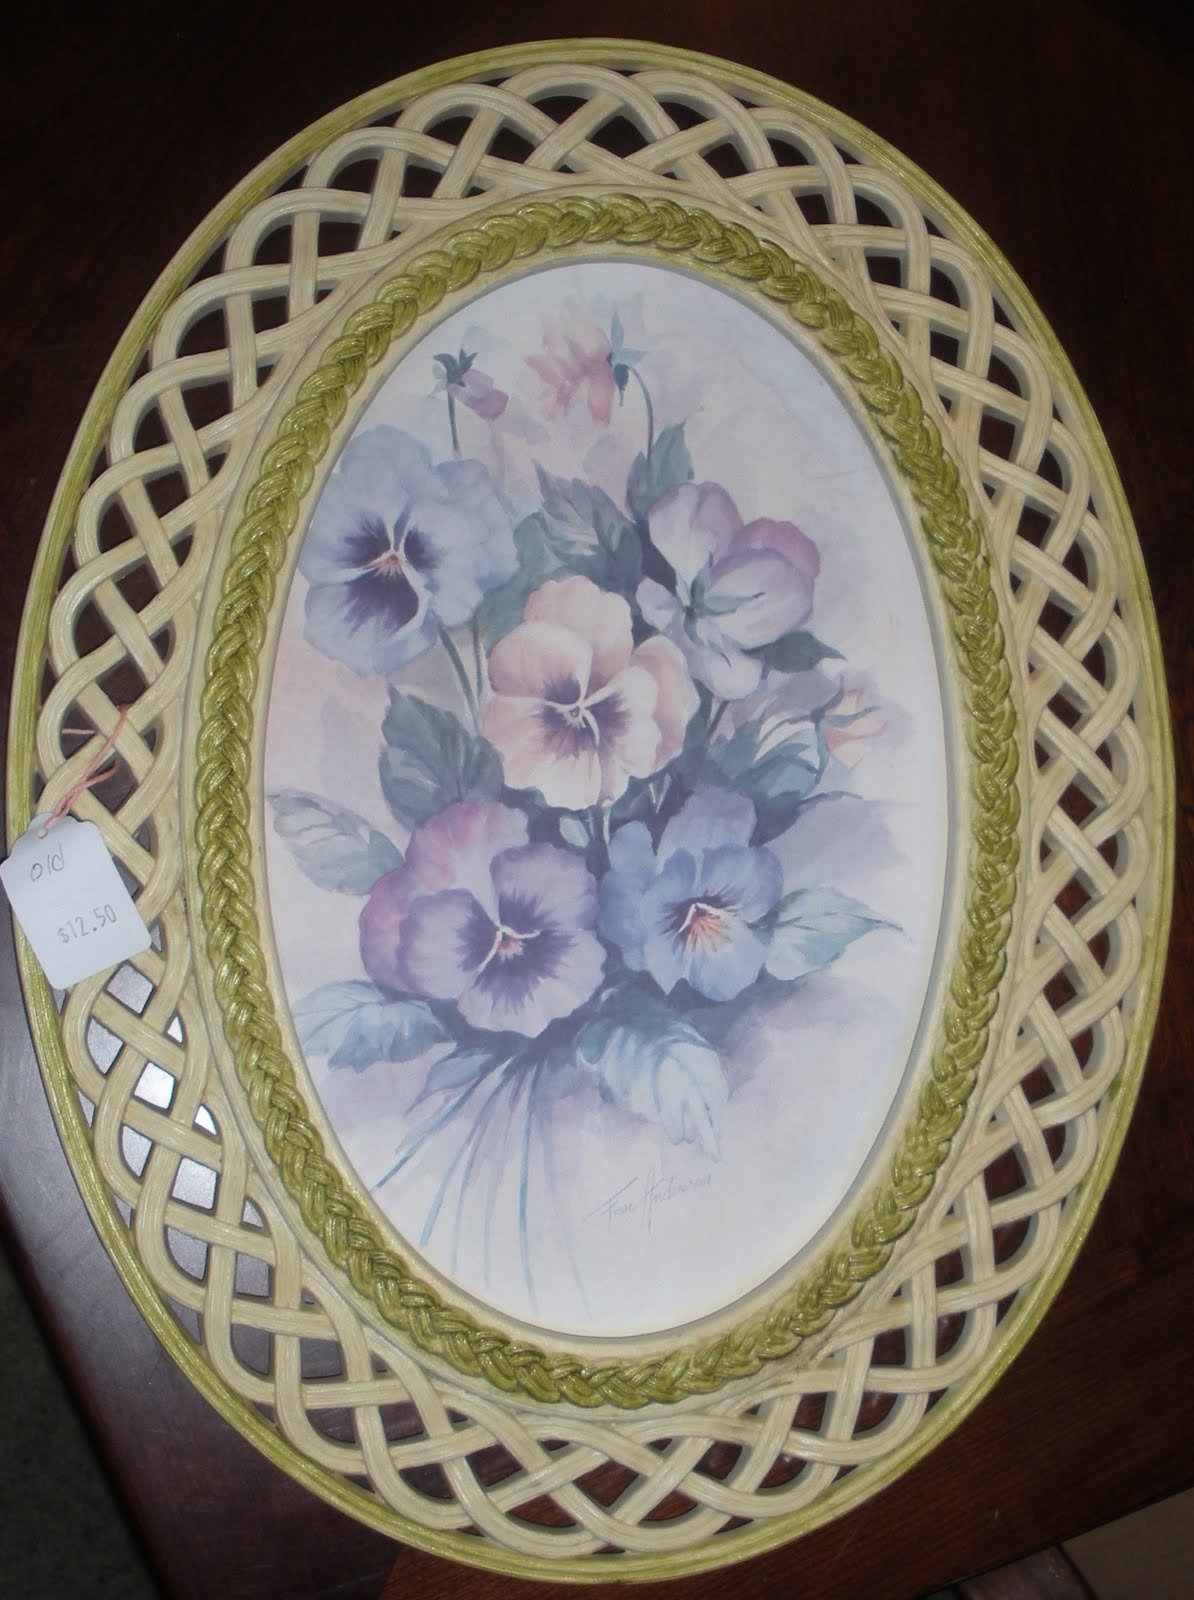
Do you ever have those projects that are so cute in your head, but they just don't work out the way you are expecting them to?  I am feeling that way about this project.  I have been putting it on the back burner because I knew it would be a simple one hour "TADA...I'm done" type of project.  So wrong!  It all started with this picture that I bought about a month ago at a local thrift store.


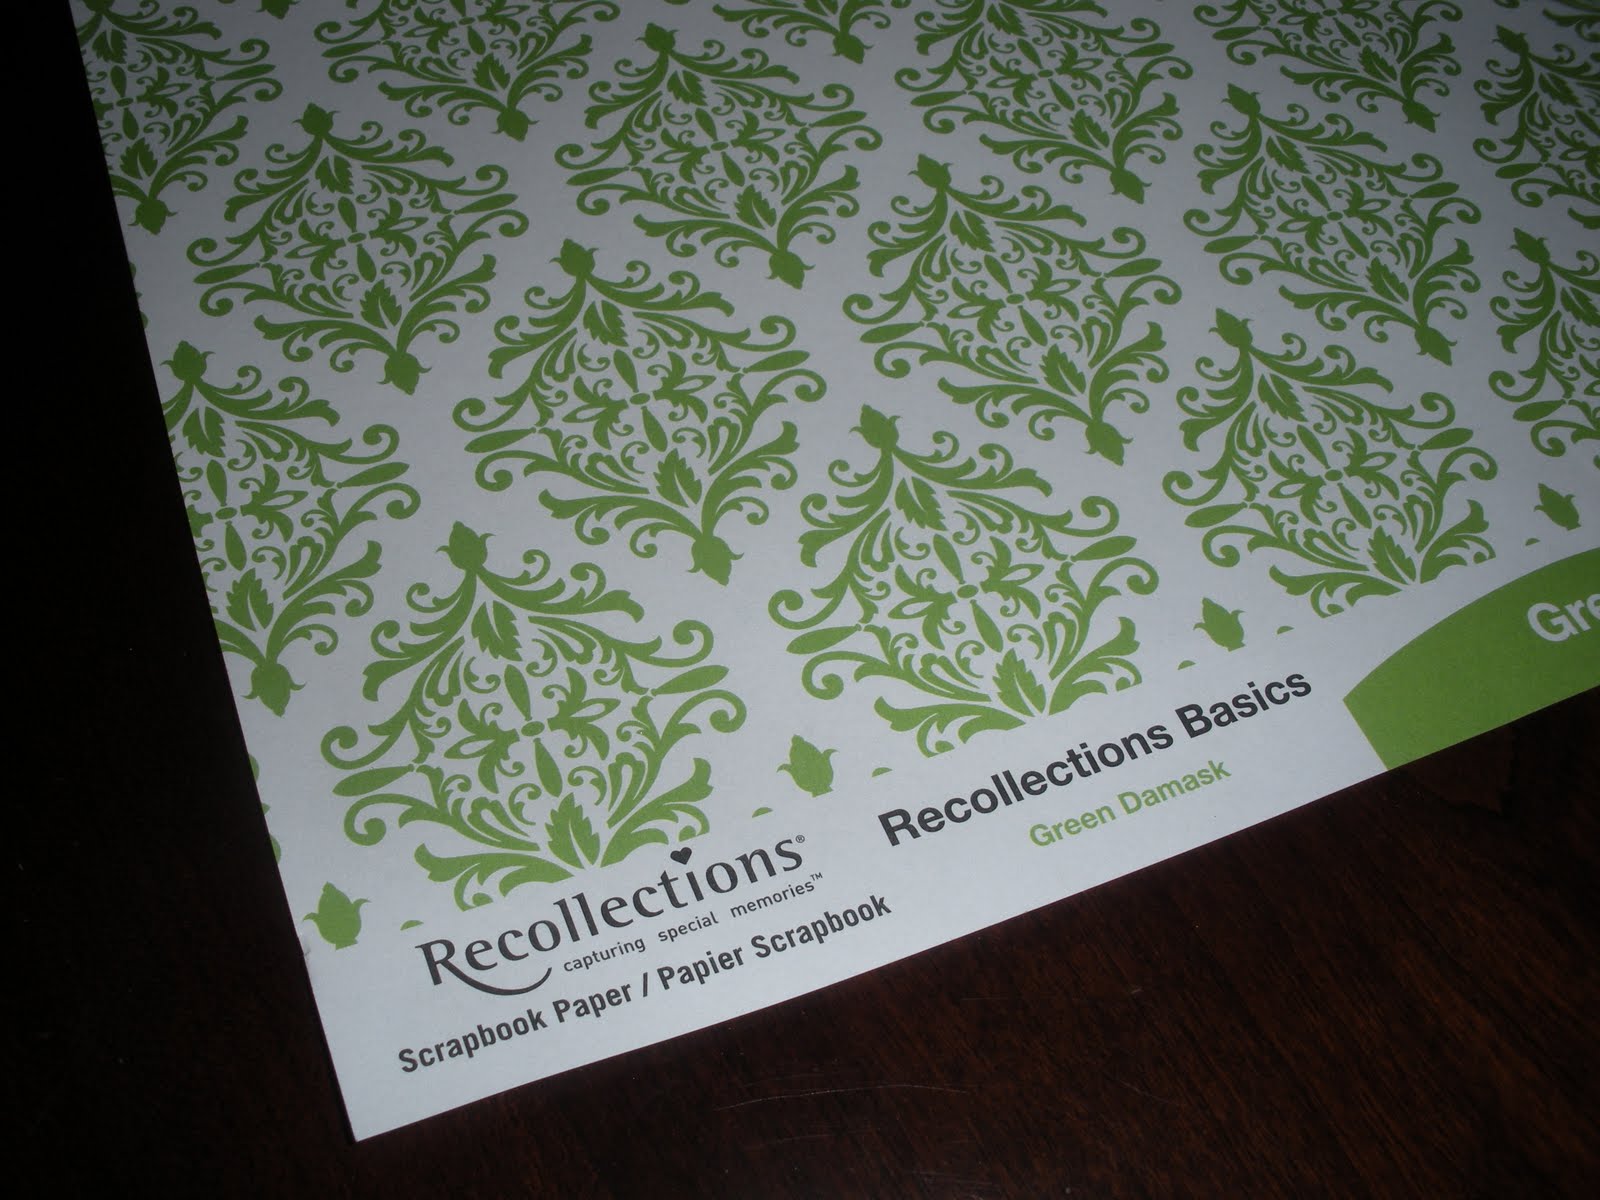
If you can't tell, it way $12.50 and "old" according to the tag.  The store was having a half off sale....the same sale that they run EVERY single day...so I bought it for $6.25(+tax).  I had to have help getting it down and I overheard the one sales lady ask the other if it was one of their nice pictures and the other lady said no...haha!  I had plans for this little missy though.  I was going to turn it into a "sign" to go on Hailee's bedroom door.  (You can see how her room is progressing HERE or HERE.)  First things first, I removed the watercolor and gave the frame a good scrubbing.  I then spray painted the frame with Krylon's watermelon....it wasn't exactly what I wanted so then I painted it with Krylon's Raspberry...still egh.  So then I misted it again with the watermelon...it is slightly lighter.  So now it was time to cover the watercolor painting.  I went to Michael's and found this paper, I thought it would tie in the green that used to paint her nightstand (and will be bringing in throughout the room).

I used my spray adhesive to glue it down onto my picture trying to keep the design as straight as possible.  I then trimmed off the excess paper.


Next, I got this wood block "H" to go in the middle of my sign, also from Michael's.
I liked it because of it's raised dimensions rather than just being flat.  So I figured that to make it stand out against everything else that was going on that I would paint it black.....so here is the finished product:

Cute...but it still looked "old" to me.  I was starting to think that the green damask was not the right choice.  Back to the drawing board.  I wanted this thing to be funky and fun.....so what about the polka dots?  You know the same paper that is on top of the night stand ...and eventually the top of the dresser.  I traced out a piece and sprayed it down on top of the damask print.

Next problem.....now that H that I painted black is going to get lost on top of the black and white print...UGH!!  So I gave it a quick coat of white primer:

By now, this one-hour-turned-eternity project is really getting under my skin.  So the only color left to paint it is Pistachio (by Krylon) which is what I used when I painted the nightstand.  After T.H.R.E.E. coats on this thing it finally covered nicely. This is what I ended up with:


I was STILL  not convinced so then I started painting the bottom portion of the H black....still didn't like it....then I added a turquoise color to the top raised part.....still a NO..
As you can see I didn't even bother to finish painting.  I threw the H in the trash and put the frame on a shelf in the garage.  Sometimes it just happens that way.  We see it in our head, but in real life it just doesn't work.  Then, there are other projects that we go in blind and come out with something great.  Do you have any headache projects that have driven you crazy lately?  Do you have any suggestions for my sign failure?  Or should I just give up?

Tuesday, May 10, 2011

Room Reno: Before and.....Midway?

Hailee's room has been an ongoing project for several weeks now.  It started with new sheetrock and scraping the popcorn ceilings (you can see more of it in this post).  As a reminder this is what we were workin' with:

I painted the walls Cosmic Pink by Valspar (eggshell finish) and the ceiling is Tempered Grey also by Valspar.  The walls took one coat of primer and THREE coats of paint, I even used their new paint formula....the one with the primer included in it.  The final product looks great, it was just a major pain to have to go over the walls sooooo many times.  I eventually plan on putting up crown moulding (in an Ultra White finish) so then the contrast will be more apparent between the walls and ceiling.  The bed use to look like this:

I just lightly sanded it, primed, then painted it black.  I got the headboard/footboard free from my aunt.  She was using it as her son's headboard (totally not a boys room piece of furniture) so I suggested we trade my daughter's plain metal frame for this set and it was a deal!  Score! 

The bedding is a quilt that I bought from Target (I think it was $30) and the sequins pillow is from Kohl's that I got with coupons (paid $2). I thought the bedding was fun and age appropriate....Hailee is 8.  The curtains I sewed myself, I bought the fabric from Hobby Lobby with a 40% off coupon and I payed about $35 (buy your fabric all in one piece so you are charged once and able to use your coupon).  Each panel is 7 feet and I have enough fabric left to recover a desk chair or something of the sort (yet to find that).  I bought the nightstand probably 6-7 years ago at a garage sale for $5 and it has been sitting in my grandma's garage ever since.  When I bought it it was white... and peeling... and gross, but I loved the lines of it.  I spray painted it with Krylon's spray paint in pistachio and then Modge Podged some wrapping paper to the top (the knobs are from Hobby Lobby).

I always knew that I would be in LOVE with that table someday.  I still need to get stuff up on the walls, paint the dresser, and find a desk.  My daughter is truly tickled pink to have a room that reflects her style.  Before we bought our house we lived in a two bedroom apartment....and there are five of us!! So just for my Hailee girl, here is a full midway update picture:

 Do you have any hot pink walls in your house?  I do, and wouldn't change it for anything in the world.  What about a piece of furniture that you bought because you love, but just haven't found the right spot for it yet?... Or even a kid with rollers in her hair that melts your heart every time you look at her?  


Sunday, May 8, 2011

HAPPY MOTHER'S DAY!

I fust wanted to tell allof  the lovely mothers in blogland HAPPY MOTHER'S DAY.  We live in Central California and the beach is only 2 hours from here, so that is where we spent the day yesterday.  We just went for the weather and the food....no swimming this time.  First we went to a produce shack/outside store place and bought some apricots, cherries, and a mango.  In the back of the property they also have like a miniature petting zoo with goats, a cow, 2 donkeys, and a mini horse (along with a few other farm animals).  The kids each bought a bag of wilted produce ($.50 each) to feed the animals.  Then off to Avila Port Pier for a walk and to see the seals that nap on the docks under the Pier.  After that, we took a 7-8 minute drive to Pismo Beach for dinner and to look in all the shops. The perfect Mother's Day for me is just knowing that my kids are happy and that we are together as a family. 


I hope every mother out there had a blessed day.  I love my babies and they make my heart smile everyday.  I am proud to be able to be their mother.