Showing posts with label Hailee's room. Show all posts

Thursday, May 19, 2011

FAILURE spelled with an "H"

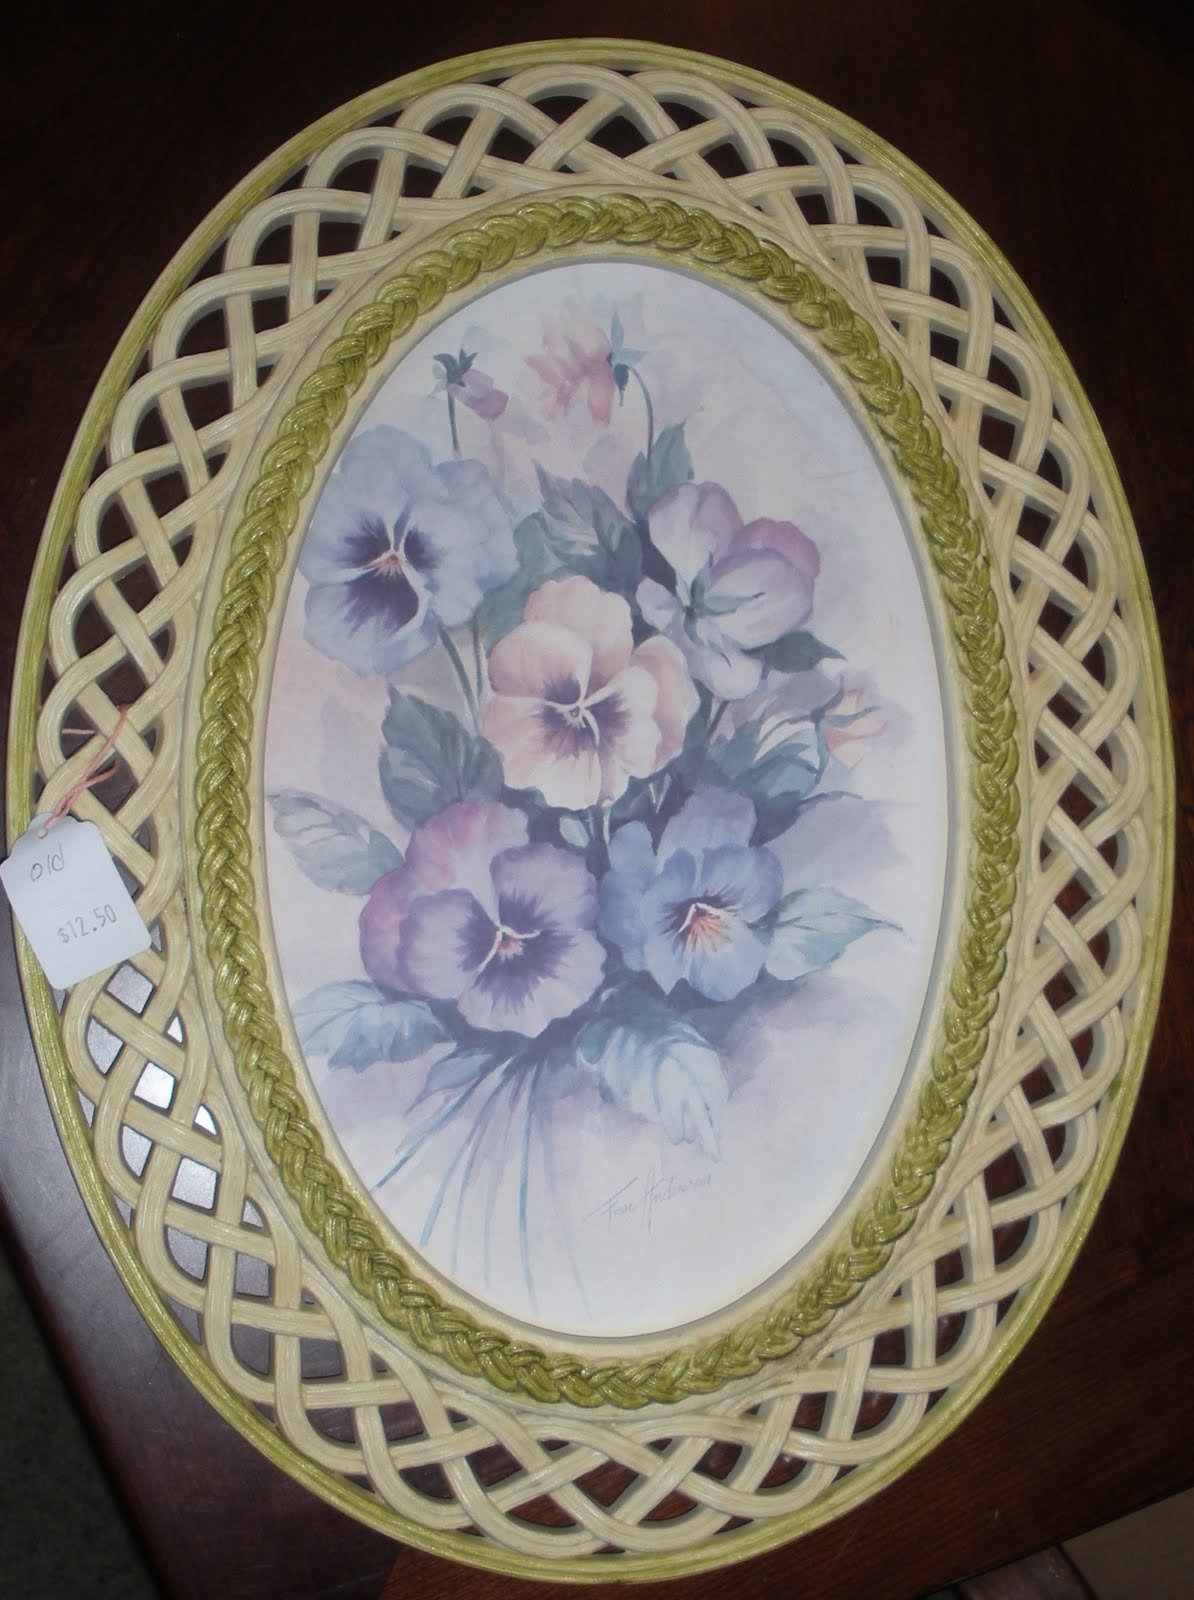
Do you ever have those projects that are so cute in your head, but they just don't work out the way you are expecting them to?  I am feeling that way about this project.  I have been putting it on the back burner because I knew it would be a simple one hour "TADA...I'm done" type of project.  So wrong!  It all started with this picture that I bought about a month ago at a local thrift store.


If you can't tell, it way $12.50 and "old" according to the tag.  The store was having a half off sale....the same sale that they run EVERY single day...so I bought it for $6.25(+tax).  I had to have help getting it down and I overheard the one sales lady ask the other if it was one of their nice pictures and the other lady said no...haha!  I had plans for this little missy though.  I was going to turn it into a "sign" to go on Hailee's bedroom door.  (You can see how her room is progressing HERE or HERE.)  First things first, I removed the watercolor and gave the frame a good scrubbing.  I then spray painted the frame with Krylon's watermelon....it wasn't exactly what I wanted so then I painted it with Krylon's Raspberry...still egh.  So then I misted it again with the watermelon...it is slightly lighter.  So now it was time to cover the watercolor painting.  I went to Michael's and found this paper, I thought it would tie in the green that used to paint her nightstand (and will be bringing in throughout the room).
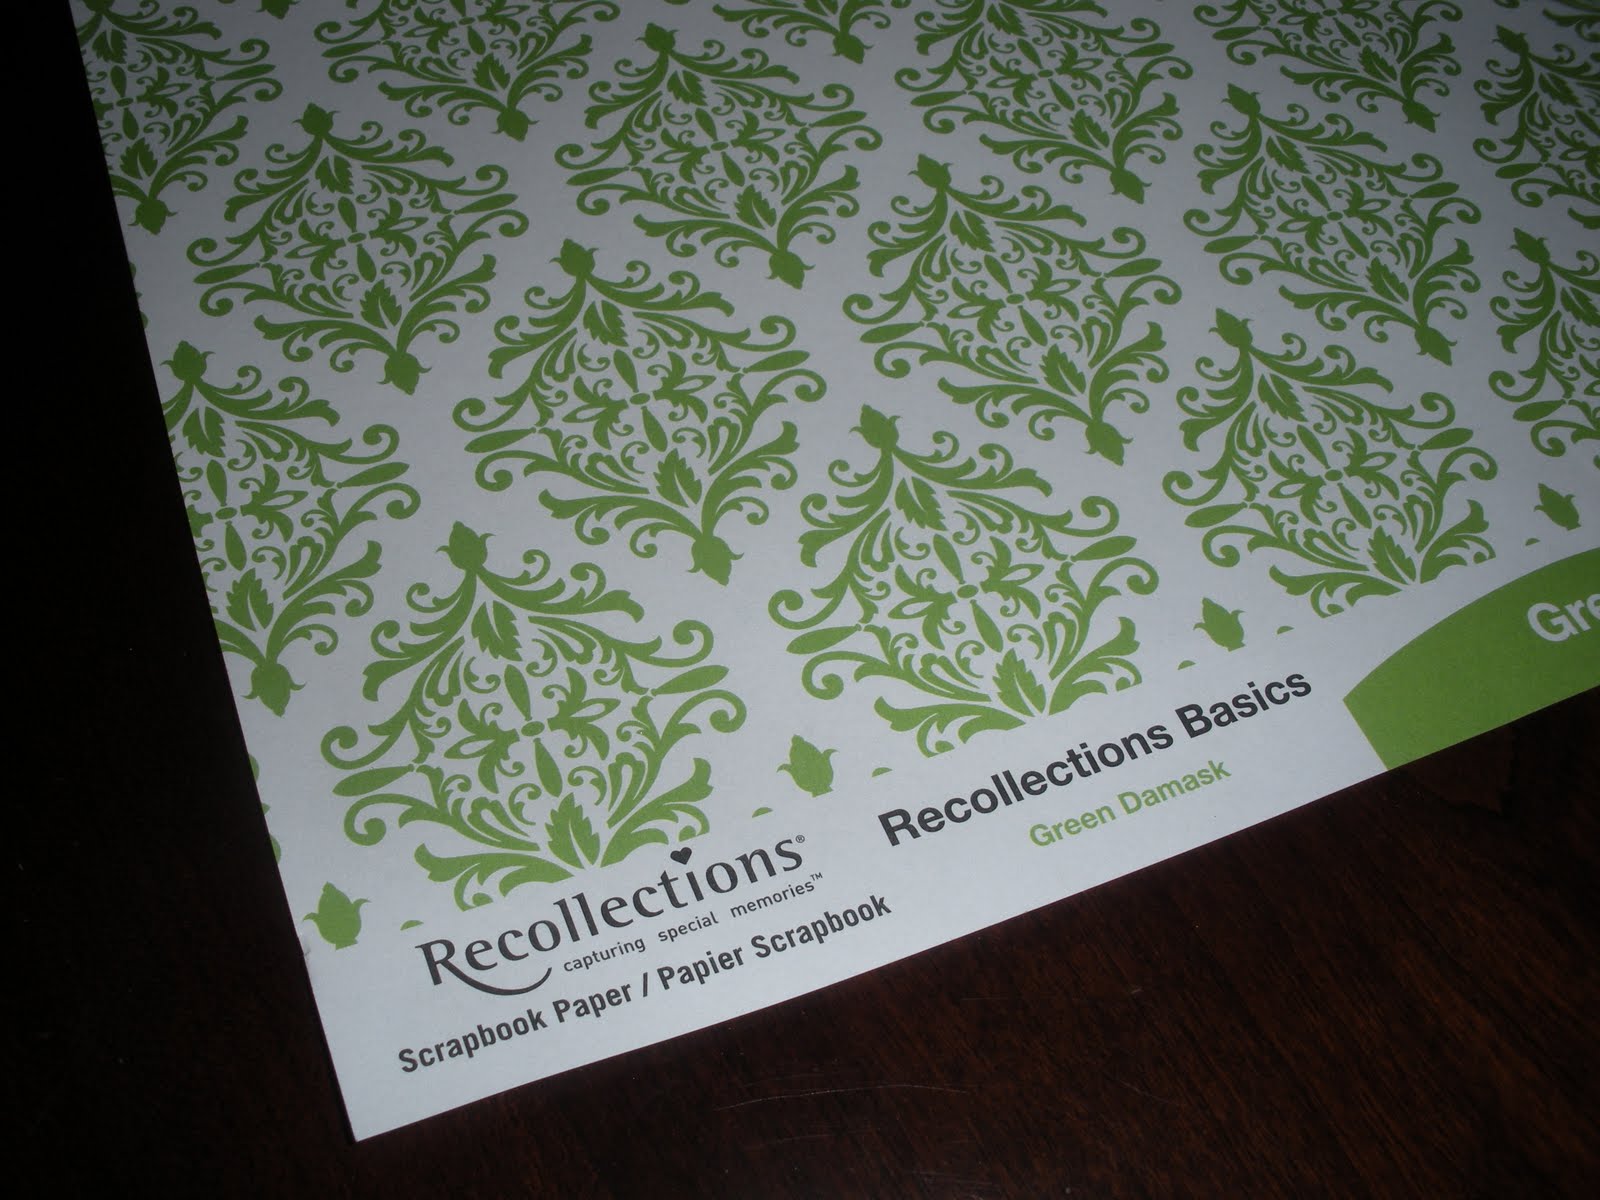
I used my spray adhesive to glue it down onto my picture trying to keep the design as straight as possible.  I then trimmed off the excess paper.


Next, I got this wood block "H" to go in the middle of my sign, also from Michael's.
I liked it because of it's raised dimensions rather than just being flat.  So I figured that to make it stand out against everything else that was going on that I would paint it black.....so here is the finished product:

Cute...but it still looked "old" to me.  I was starting to think that the green damask was not the right choice.  Back to the drawing board.  I wanted this thing to be funky and fun.....so what about the polka dots?  You know the same paper that is on top of the night stand ...and eventually the top of the dresser.  I traced out a piece and sprayed it down on top of the damask print.

Next problem.....now that H that I painted black is going to get lost on top of the black and white print...UGH!!  So I gave it a quick coat of white primer:

By now, this one-hour-turned-eternity project is really getting under my skin.  So the only color left to paint it is Pistachio (by Krylon) which is what I used when I painted the nightstand.  After T.H.R.E.E. coats on this thing it finally covered nicely. This is what I ended up with:


I was STILL  not convinced so then I started painting the bottom portion of the H black....still didn't like it....then I added a turquoise color to the top raised part.....still a NO..
As you can see I didn't even bother to finish painting.  I threw the H in the trash and put the frame on a shelf in the garage.  Sometimes it just happens that way.  We see it in our head, but in real life it just doesn't work.  Then, there are other projects that we go in blind and come out with something great.  Do you have any headache projects that have driven you crazy lately?  Do you have any suggestions for my sign failure?  Or should I just give up?

Tuesday, May 10, 2011

Room Reno: Before and.....Midway?

Hailee's room has been an ongoing project for several weeks now.  It started with new sheetrock and scraping the popcorn ceilings (you can see more of it in this post).  As a reminder this is what we were workin' with:

I painted the walls Cosmic Pink by Valspar (eggshell finish) and the ceiling is Tempered Grey also by Valspar.  The walls took one coat of primer and THREE coats of paint, I even used their new paint formula....the one with the primer included in it.  The final product looks great, it was just a major pain to have to go over the walls sooooo many times.  I eventually plan on putting up crown moulding (in an Ultra White finish) so then the contrast will be more apparent between the walls and ceiling.  The bed use to look like this:

I just lightly sanded it, primed, then painted it black.  I got the headboard/footboard free from my aunt.  She was using it as her son's headboard (totally not a boys room piece of furniture) so I suggested we trade my daughter's plain metal frame for this set and it was a deal!  Score! 

The bedding is a quilt that I bought from Target (I think it was $30) and the sequins pillow is from Kohl's that I got with coupons (paid $2). I thought the bedding was fun and age appropriate....Hailee is 8.  The curtains I sewed myself, I bought the fabric from Hobby Lobby with a 40% off coupon and I payed about $35 (buy your fabric all in one piece so you are charged once and able to use your coupon).  Each panel is 7 feet and I have enough fabric left to recover a desk chair or something of the sort (yet to find that).  I bought the nightstand probably 6-7 years ago at a garage sale for $5 and it has been sitting in my grandma's garage ever since.  When I bought it it was white... and peeling... and gross, but I loved the lines of it.  I spray painted it with Krylon's spray paint in pistachio and then Modge Podged some wrapping paper to the top (the knobs are from Hobby Lobby).

I always knew that I would be in LOVE with that table someday.  I still need to get stuff up on the walls, paint the dresser, and find a desk.  My daughter is truly tickled pink to have a room that reflects her style.  Before we bought our house we lived in a two bedroom apartment....and there are five of us!! So just for my Hailee girl, here is a full midway update picture:

 Do you have any hot pink walls in your house?  I do, and wouldn't change it for anything in the world.  What about a piece of furniture that you bought because you love, but just haven't found the right spot for it yet?... Or even a kid with rollers in her hair that melts your heart every time you look at her?  


Wednesday, May 4, 2011

Inverted Bullnose...?

So we all know that bullnose corners are rounded wall corner edges that most of the new builders (and a lot fancy houses) have.  When the sheetrock is installed on fresh walls a corner bead is installed around the window casings and on all the corners.  It is a aluminium "protector" piece which allows your corners to hold up against bumps.  Traditionally the corners are a straight 90 degree angle, but with bullnose the angle is rounded which softens the corners of the room.  In my house I have the regular ol' squared off corners....not a big deal and much easier to work with when it comes to changing baseboard or crown moulding.  Well, regular corners except for THREE!! Two corners that are in Hailee's room and one corner in Alyssa's room are bullnosed, but "INNIE" bullnosed!!...??  Usually bullnosed are only used on outer facing corners and not inverted like this....I guess my builder was trying to be super fancy.  So I never thought much of it until recently when I was replacing the baseboard in Hailee's room.  >>Progress on that room can be seen here<<  I guess the builder didn't take much consideration of this either because they installed the baseboard at a regular 90 degree angle which led to a gap and overall just not looking right.
I had NO IDEA how to make the cuts work and I searched and searched for a tutorial on how to do it, but the only thing that I came up with was how to do the typical outward facing bullnose.  I took what I gathered from that and went with it.  On a typical 90 degree corner you would miter your edges at a 45 degree angle each but for this I cut a middle section with 22.5degree angles on each side and then my two side sections at 45 degrees.

When you trim the side pieces like above don't set you saw at any angle, just make a straight cut.  I don't think this is the "proper" way to do corners like this, and if some manly man saw this he would probably cringe all over.  Cringe, baby cringe!! 

When you have it all pieced together tack it to the wall with some finishing nails....a nail gun works best, but if your gangsta like me just use a hammer, skinny nails, and a nail setter.  Then caulk around the edges, in the seams, and over your nail holes to fill in any gaps and make it look seamless.  Touch up with paint and your done!  This is my final product....I think it turned out great if I do say so myself.  Total cost was around $30. 


Have you had any projects that you thought were going to be simple and turned into a pain?  Ever have to take 19 gazillion trips to the garage just to get your cut right?  What about your house....does it have any "fancy" little features that make you say SERIOUSLY!!? 

Thursday, April 21, 2011

Room Renovation (part1)

Since we moved in we have only actually completed one room....the laundry room.  But room number two is well on it's way to fabulous.  So here is a little photo diary of what has been taking place.  First, we had to strip the sheet rock and replace it as well as the window due to mold and water issues.  Here is what that looked like:

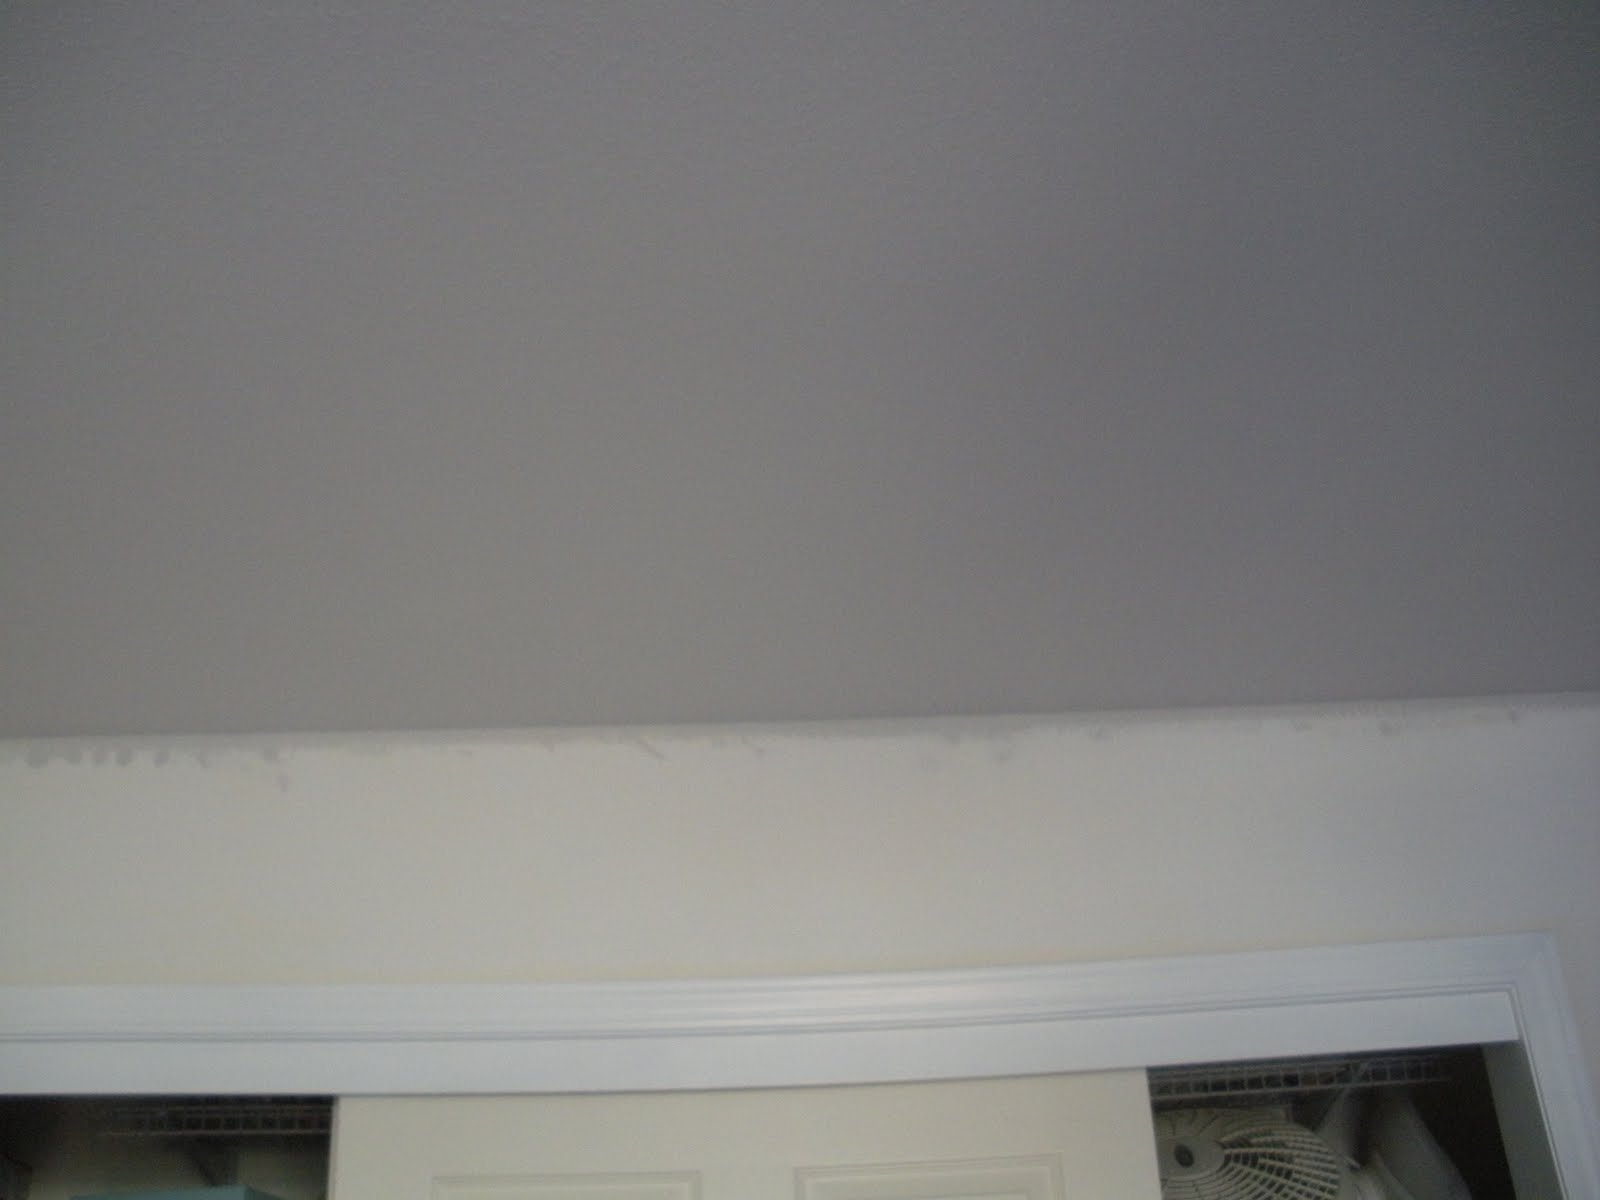
And since we had to do all that work we scraped the acoustic ceilings as well.  Now, we are getting somewhere!  Scraping the popcorn (my son calls them the bumpy things) makes a world of difference.  Our Pastor came and mudded the walls and then sprayed the texture.  L.O.V.E.!!  I painted the ceilings a light grey color, 1. because I already had the paint and 2. because I figured it would look good with the hot pink that my daughter wanted on her walls rather than a stark white.  Can't forget about our fifth wall people. 

I had originally bought this color to go on my living room walls but once I got it up it wasn't the vision that I had seen in my head so it was a no go.  It looks like a substantial grey in the photos but in real life it shows very light.  And not wanting to reveal too much in this post here is the next step, notice how the grey doesn't look so dark anymore:

So what do you think of the paint color?  It's pretty wild, but my daughter is in love.  Do you have any in-your-face rooms in your house?

Do you like to party?  I do!!  I linked my post up to this party: http://www.houseofhepworths.com/  ....go check it out!!  Parties are a great place for inspiration!